How to use Shippsy
STEP 1 - Get the US address
After signing up, you’ll have to login to your account to get the free US address.
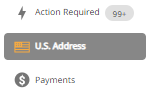
You can access this by simply clicking on the tab that says “U.S. Address”.
Use this address to place an order from your favorite US based merchants.
Make sure that you type the address as is and do not modify any info.
Make sure that you check our list of prohibited items before placing an order.
After placing the order, you’ll just have to wait for the shipment to arrive at our US facility.
You will also receive a notification email as soon as your order get's assigned to your account.
STEP 2 - Adding your Credit Card
While waiting for your shipment to arrive, you must add a credit card to your account.
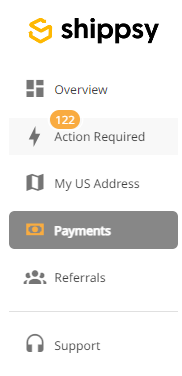
To do this, log in to your account and click “Payments”.
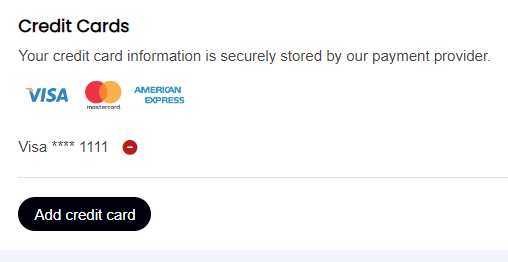
From here, you’ll have to click on “ADD CREDIT CARD” and key in your credit card information. You can use VISA, Mastercard or American Express. You will also have the option to use multiple credit cards.
Once this is done, all you have to do is wait for your order to arrive.
STEP 3 - Creating your declaration
Once your order arrives at our US facility, you will have to login to your account and create your declaration. To do this just click on the “Action Required” tab, look for the shipment you’d like to work on and click on “Provide Details”.
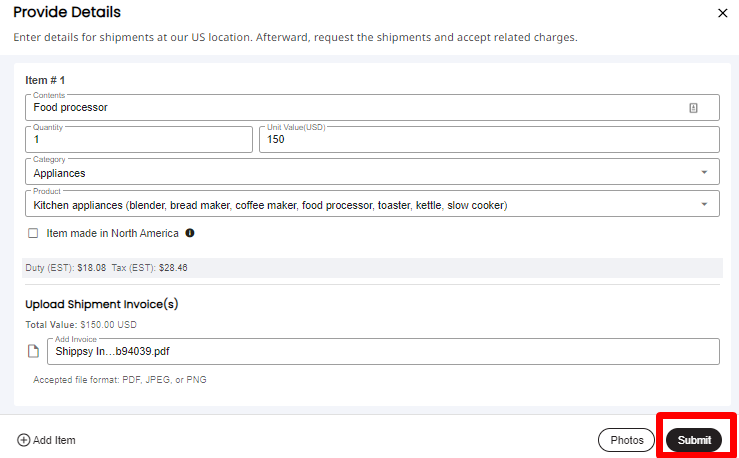
Things to remember when providing details for a shipment:
- Make sure that the description is not too generic.
- Make sure that you put in the right quantity
- The item value is always in USD, no need to declare the shipping cost and US sales tax. Just declare the actual item value.
- “This item was made in North America” - Select this if you know that your item was manufactured in North America. You will be required to provide proof if an item was manufactured in North America. If you are unsure where your product was manufactured, leave this box unchecked.
- You can upload multiple page invoices, accepted file formats are PDF, JPEG and PNG.
- If you don’t see your item listed on the category dropdown, you can select “Other”.
- The Duty and Tax shown on this part of the process are just estimates.
- If you can’t remember the item you purchased you can always request for an additional photo at an additional cost. Images can take up to 2 business days to be reflected on your account. You will also receive an email when an image has been uploaded.
From here, you can fill out the required fields and click on the SUBMIT button.
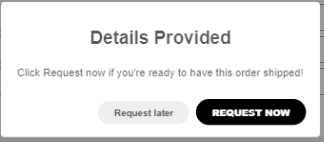
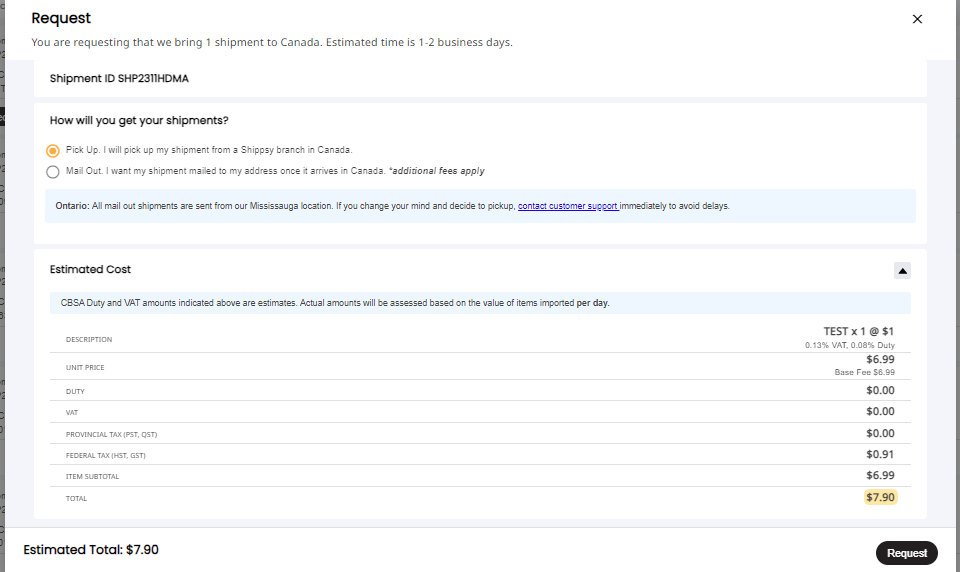
After hitting on SUBMIT, a pop up box will appear asking you if you want to request it later or request it now. If you click on REQUEST NOW it will show you the estimated cost and will ask you if you prefer to pick it up at our warehouse or have it mailed out. If everything looks good, you can click on the REQUEST button.
Congratulations! You have successfully created your declaration.
Your shipment will now be sent to our Data Entry Team for approval, they will double check the information you have provided. In case there are any issues, you will be notified via email. If all the information you have provided is correct, the shipment will be approved and will be added on the next trip.
STEP 4 - Payment and Pick up
When the shipment arrives at our facility, you will receive an email notification. You will be asked to login to pay for the shipment.
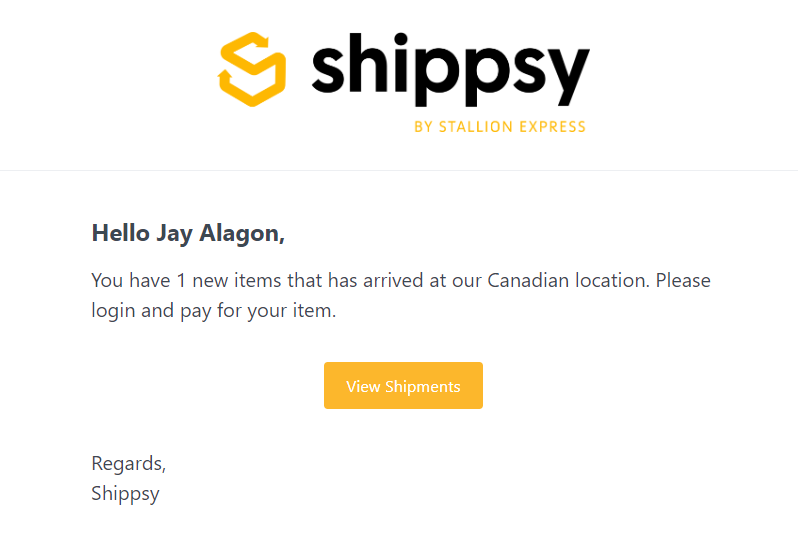
To do this, just click on the View Shipment button on the email or manually login to your account and click on the “Overview” tab.
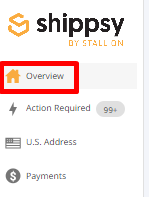
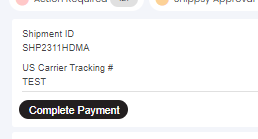
After clicking on the “Overviewt” tab, you’ll have to select the shipment you’d like to pay for and click on the “Complete Payment” button.
After that, you will be moved to another screen where you can select if you want to pick up the shipment or have it mailed to your address.
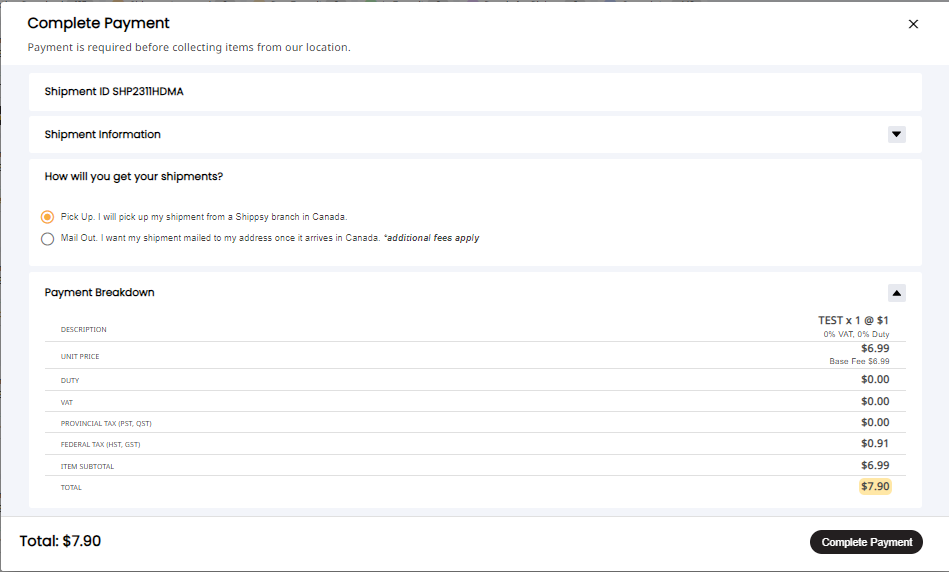
This page will also show you the breakdown of charges including the handling fee and CBSA Tax and Duties.
After reviewing the details just click on “Complete Payment” and confirm the payment.
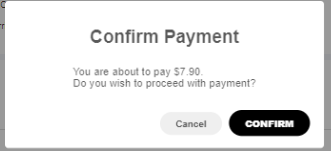
After you click CONFIRM, the item will now be Ready for Pickup, under this tab.
You can choose to print your Order confirmation or simply show this on your phone when visiting your branch location.
Don’t forget to bring your order sheet upon pickup.